
Printers help keep us productive when we need to print things quickly for school or work. It’s especially frustrating when you want to print something, but your ink is gone. To avoid these problems, you should check your printer’s ink frequently. If you use Windows 10, we’ve got a quick guide on printing from any printer, like HP, Canon, or any other brand.
How to Monitor Your Printer’s Ink on Windows 10
You can view your ink levels directly in your system settings. Simply follow the steps below: Go to Settings on your Windows 10 computer. Hit the Devices button. In the left-hand pane, pick Printers & scanners as your option. From the list, select your printer and press Manage.
Choose how you want to print the files. In the new pop-up window
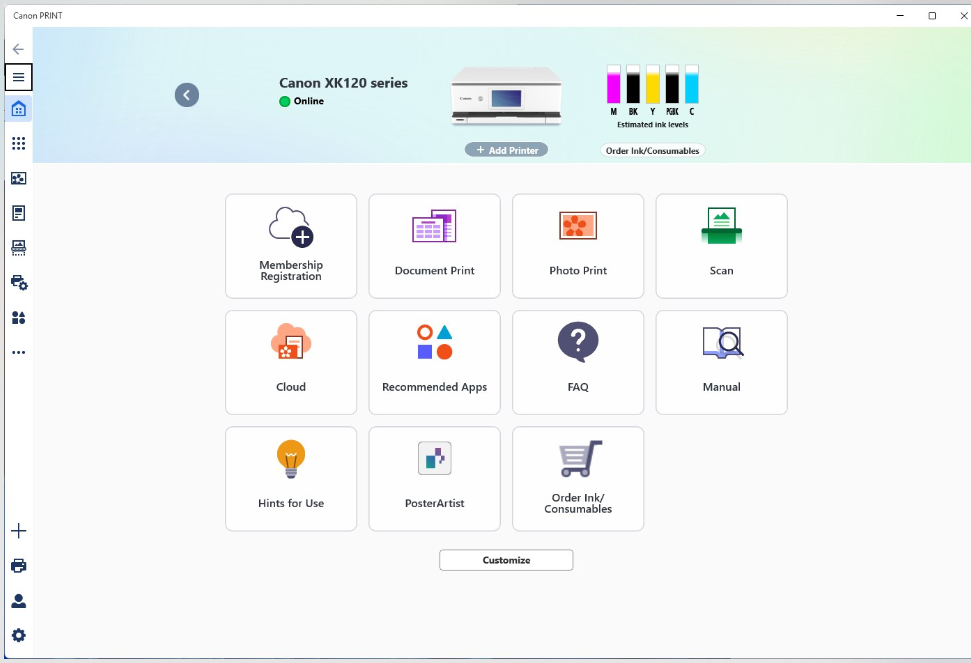
click Maintenance (it’s usually located in the top-right corner). Choose View Printer Status from the options. Next, click Ink Details. The ink levels for every ink cartridge in your printer should appear now. Controlling the Ports through the Control Panel. If you want to go through the Control Panel, click on the Control Panel option. Open Hardware and Sound, then click on Devices and Printers. Press the right mouse button on your printer, pick Printing preferences or Properties, and then explore the ink status options. Why Often Do My Ink Level Readings Show the Wrong Level? In some cases, the results are not totally correct. Let me explain a few points: Update the drivers you have on your system if there are display problems. Misaligning the device can give you the wrong results. Your printer and computer are not able to work well together. Will Windows 10 Make You Aware When Ink Is Low in Your Printer? Low ink notifications are not provided directly in Windows 10. Yet, many printer companies include software that reminds you to refill the ink.