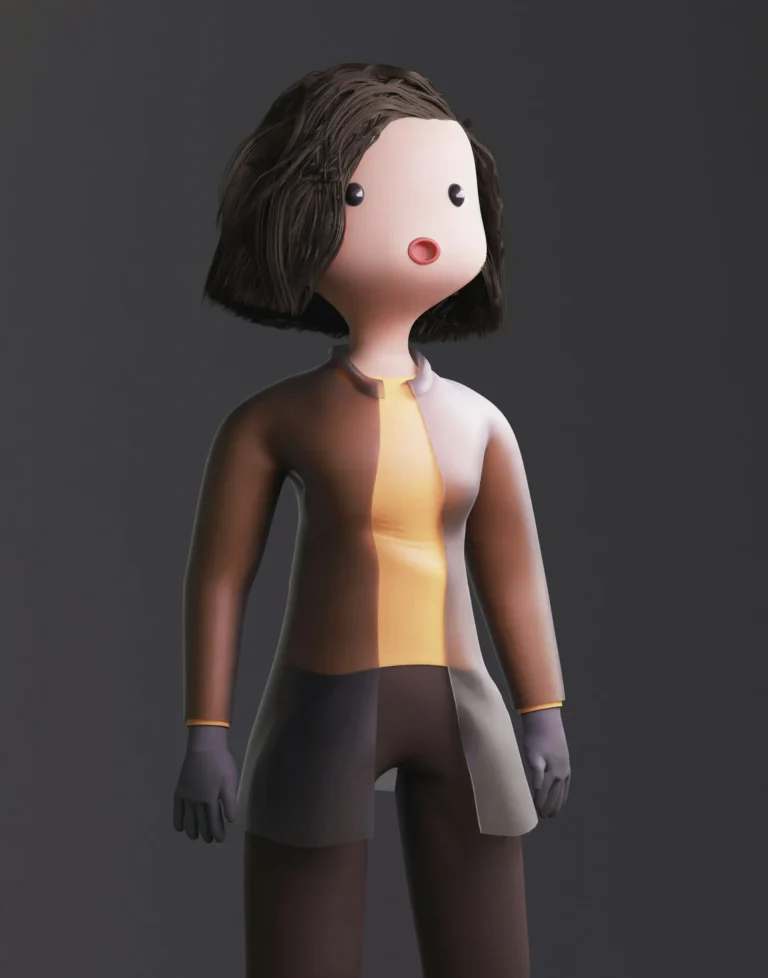
With the current market situation, user-made games in Roblox are becoming one of the most used gaming platforms for kids and adults alike. With AI-driven tech, in a way, it also gives gamers the ability to make their games and their avatars. Once again, the platform has brought in two new AI-powered tools — this time for building avatars and to work out texturing. That means now you can create your 3D model in Roblox using the Avatar Auto Setup feature. Don’t worry, in this article, we’ll show you how!
Avatar Auto Setup Roblox Avatar
Avatar Auto Setup simply takes 3D body meshes and turns them into dynamic, animated avatars with a single click, putting quite a dent in the time required to create an avatar. If it used to take days to process it, that’s no longer the case; they just take a minute or two.
- Enter Open Roblox Studio and Click on Avatar present from the tab above.
- You can then click on Avatar Setup and then on the Set Up Avatar.
- From the auto setup tool, you have a choice of features such as rigging, facial animation, skinning, clothing, caging, partitioning, and much more.
- Once your chosen avatar is finished, you can test the model from the Preview Window.
- Verify features on the Body, Face, and Test in the Experience icons from the left tabs; then click on it and upload.
- To unequip an item click it again in the selection column and press X at the top right of the equipped item.
Note: In addition, simply right-click the asset in the Equipped column and choose Unequip.
- If you select one of the two: Explorer or 3D workspace, then go to the bottom of the menu and click on the Plus icon.
- To playtest without transferring setup changes, click the Test in Experience button.
- Then, select the Publish button to post your avatar and accessories in Marketplace.
How Will Features Be Created Using Roblox Avatar Auto Setup?
The Avatar Auto Setup offers a ton of features for users such as:
- Avatar Customisation Templates: Rapidly, you can use pre-made templates that include clothing styles or facial traits for the avatar creation process.
- Real-time Mesh Optimisation: In addition, you can also add real-time mesh complexity optimization features to be modified while undergoing the auto setup phase. Doing this helps the avatar’s performance in the game without losing visual quality your device is low-end or just a handheld it will come in very handy.
- Custom Animation Import: Individual users can bring their custom animations for further altering avatar movements, clothing, skins, and more.
What are Roblox Avatar Auto Setup’s Model Requirements?
To work as best as Avatar Auto-Setup can, Avatar Auto-Setup requires a specific set of conditions from the input body model.
- Single Mesh: Make sure the body has 6 merged components, where the body consists of 1 main head and body with some special body features and 5 clear different head components.
- Non-Shared Head Geometry: Vertices on the head geometry cannot share with the body mesh; eyeballs faces, teeth, tongue, …
- Geo Affix: The final part of the asset name must be _Geo.
- Triangle Budget: Mesh resolution for the total body must be less than 20k triangles.
- Humanoid Shape: The shape of the body should be humanoid having standard body parts.
- A-Pose: The entrance angle standing A pose should face the negative z-axis.
- Symmetry: Asymmetrical bodies may still have a function but make sure it is left and right symmetrical.
- Watertightness: Make sure the model is watertight other than the eyes and mouth.
- No Accessories: Don’t include accessories such as hair, eyebrows, or eyelashes.
- Distinct Neck Area: Always separate the neck from the shoulders and upper torso.
- Texture Inclusion: Base texture or surface appearance object should be part of the model.
- Policy Compliance: The Roblox Marketplace Policy and Community Standards have to be followed.
What import models are supported on Avatar Auto Setup?
You will know which importing models work with Avatar Auto Setup by following the guidelines shown above.
With a name like that, what are the Unsupported Importing Models on Avatar Auto Setup?
Check out these examples of unsupported importing models on Avatar Auto Setup:
- Asymmetrical model.
- If a model has A-pose, not I-pose.
- If the model is animal-shaped.
- The model has a noncontiguous mesh.
- If the model has no neck.
- For models with proportion limbs.
How does Test Work on Experience on Roblox Avatar Auto Setup?
Experience is a game test to playtest your experience. It resides in the Preview window.
This is when you can tell the avatar to set up your playable character model, but no changes you’ve made to the avatar while setting it up such as skin tone or body component swaps or accessories will be transferred to your playable character model until you allow them to.
When will Avatar Auto Setup Not Deliver What It Promises?
The 3D model requirements must be met for the Avatar Auto Setup to yield the results we expect.
Therefore, we must proceed through the prerequisites listed above very carefully so that we can actually create an avatar.
Creating an avatar on Roblox with the new Avatar Auto Setup Avatar is a fun thing to do now that you know how to do that, so you just go and build a whole bunch of other cool-looking 3D models within minutes!
If you have any queries/suggestions, please let us know in the comment section. Stay tuned to TechCult for more tech know-how.


